


Release notes
March 2026December 2024July 2024February 2024
September 2023
May 2023
January 2023
November 2022October 2022September 2021August 2021May 2021March 2021August 2020July 2020June 2020May 2020April 2020
September 2023
May 2023
January 2023
November 2022October 2022September 2021August 2021May 2021March 2021August 2020July 2020June 2020May 2020April 2020
October 24, 2022
v3.0What's new
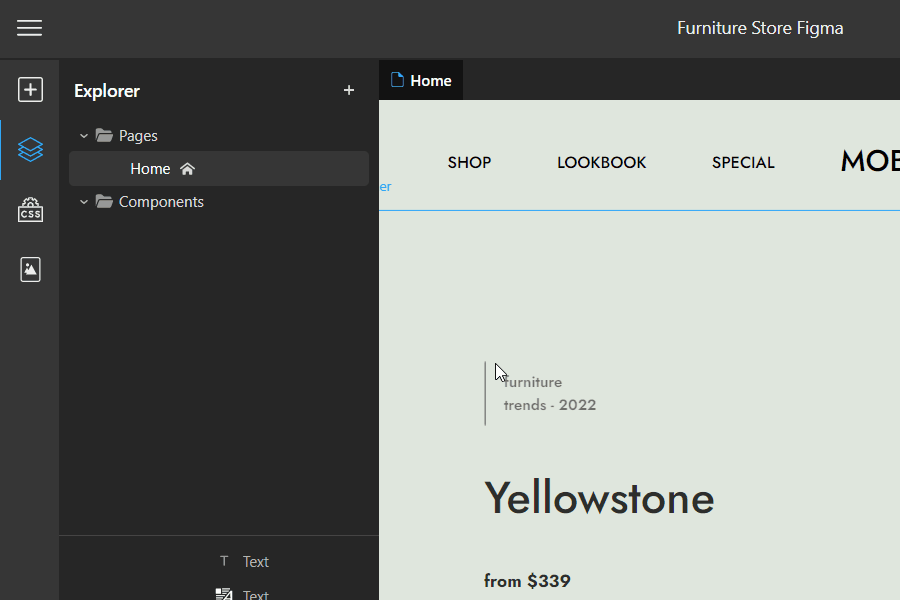
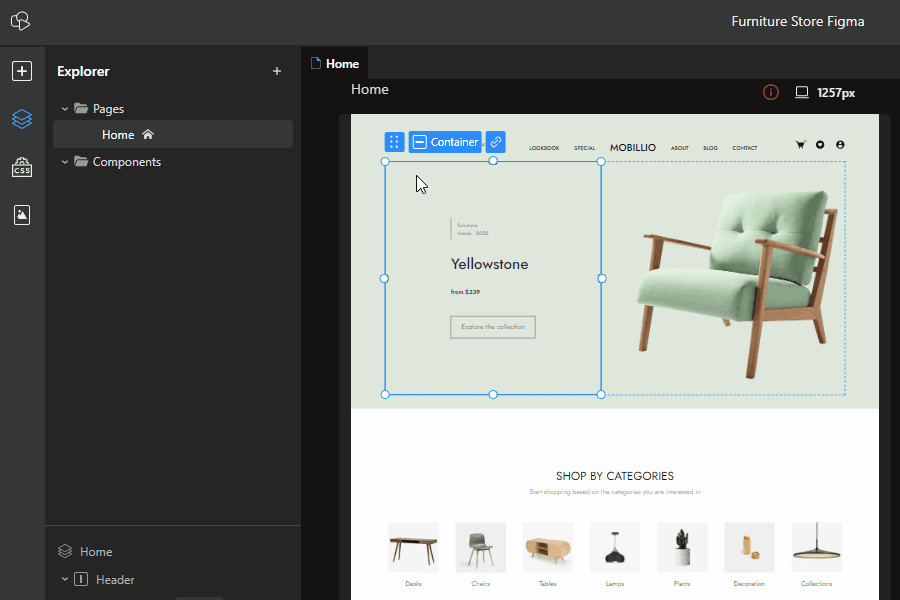
Smart elementsThese are a new type of interactive element that we’ve just released and are planning to expand upon in the near future. Each smart element we add will have specific settings and functionalities and can be easily customized.
Dropdown:
The first smart element is the Dropdown element which reveals the dropdown options on hover. Customize it by using the settings panel and the Inspector to create nested dropdowns. You can use this element to create advanced dropdown menus for your navbar.
Style your projects using Tailwind CSS classes . You’ll find a new area in the Visual Inspector where you can add Tailwind classes to your elements. You will find an autocomplete feature to make the process smoother.
This is still an experimental feature so you’ll need to enable it from Project settings -> Experimental features.
The Developer mode is a new feature that allows you to create apps that are mixing the benefits of visual editing with the custom code written in React. You can also use Developer mode to import React components from third party libraries.
The apps that you create or import can then be used and customized in Design Mode by anyone.
Enable Developer mode from Project settings -> Experimental features.

We added the Cloud components feature that allows you to import components created visually in TeleportHQ in other dev environments as well as other TeleportHQ projects. The components are compatible with React and Next.js and work by importing them directly from a CDN instead of using a traditional package manager.
Updates
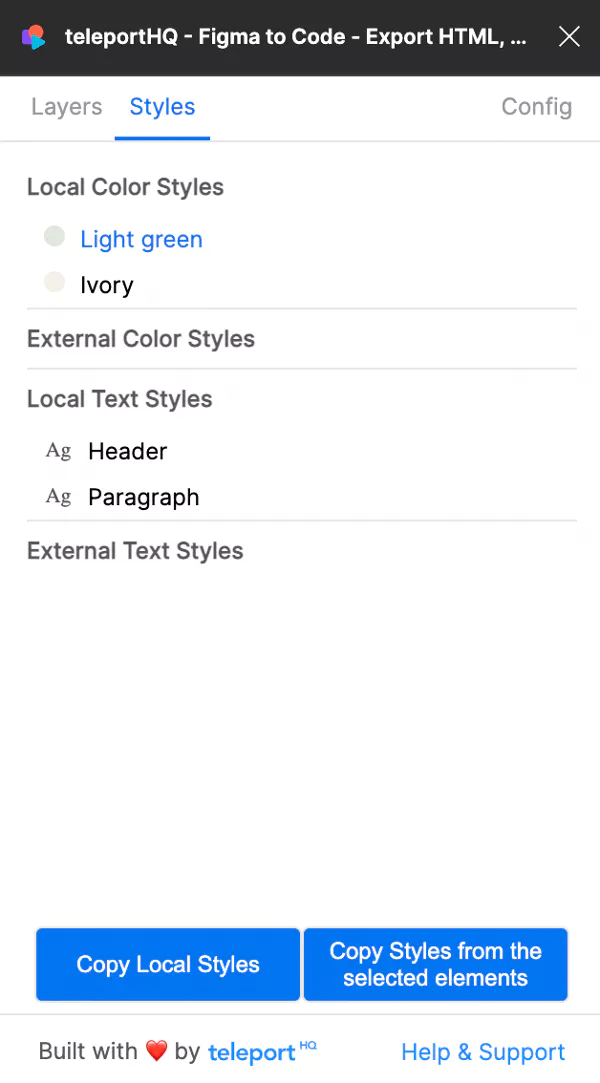
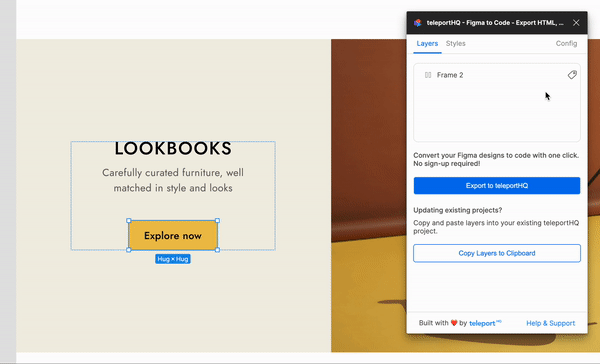
Figma plugin updatesStyles copy and update
The styles tab will display all the styles used in the current project. They are split in color and text styles, each of them being internal (created within the project) or external (imported from another project.
Additionally, from here you have the option to copy the styles to clipboard and paste them inside an existing TeleportHQ project. You can do this for an entire project or just an element.
The respective styles will be marked for you inside the plugin, so you can keep track of what styles you have used.
The tagging feature allows you to mark your Figma elements as: buttons, inputs or SVGs. Now when you export them, instead of being treated like simple containers, they will be converted into the specified HTML tag.
You can see the naming conventions that we are using inside the Config tab, where you can add your own or delete the existing ones.
Additionally, if you have element names that contain one of the conventions and you don’t want that specific element to be converted, you can mark it as Exclude.
We also made some Image export optimizations, layout improvements, load time improvements and we’ve added a progress bar when copying layers.
Custom media queries
We’ve made an update to how we handle media queries. You can now have up to 6 media queries enabled per project and you can adjust the values in pixels on all of them. This will give you much control over the responsiveness of your projects.
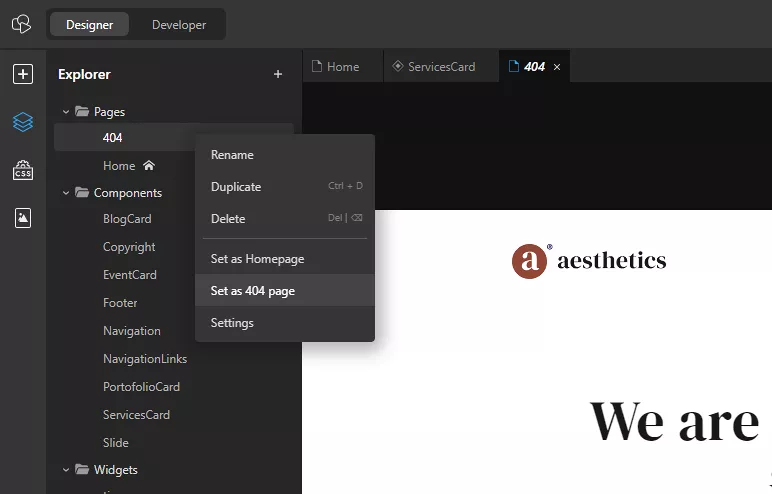
You can now create and set your own custom 404 page. To set up a 404 page just create it like any other page, go to the pages list in the Left panel, right click and select “Set as 404” page. Now whenever there is a server problem, your custom 404 page will be displayed.
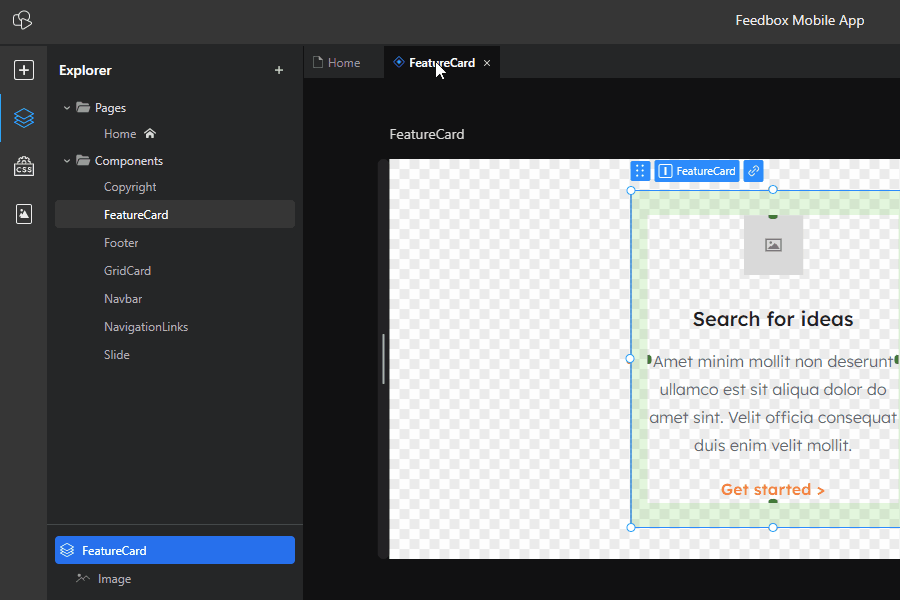
We have added the slot element, which can be used to customize components. When added to a component it does nothing inside the component itself, but in pages where the component is used it acts as a container in which any element can be dropped. This allows the component to adapt to different contexts.
The preview you’re seeing is nothing to worry about, as it will not appear once you deploy the project. It can also be disabled or resized, depending on preference.
Note that at the moment only one slot is supported in a component.
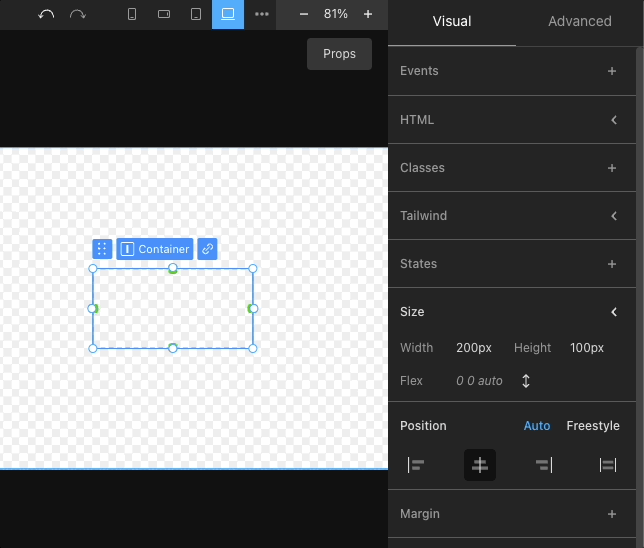
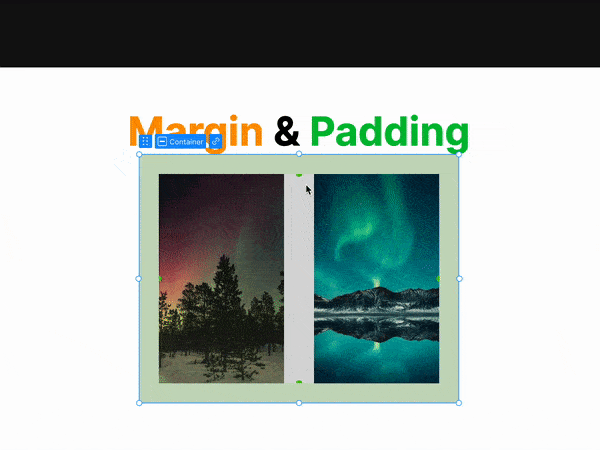
We made a few upgrades to margin and padding resizing in the visual editor. Now you can quickly adjust them by dragging the orange and green handlers around the element.
The resizing also uses existing spacing tokens to snap into place easier. Additionally, usual resizing was extended to dragging from any place on the node sides.
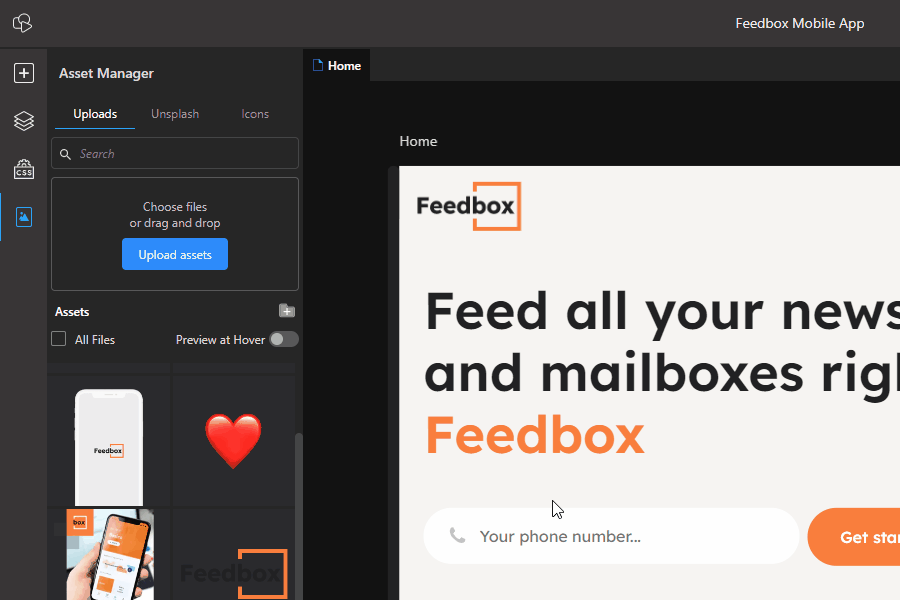
We upgraded the assets manager by adding a folder system. This will allow you to easily organize your uploaded files and move them into folders or subfolders as you wish. This will make organizing your projects much easier and convenient.
Improvements & Fixes
- Improved experience for rich text editing
- Added "Lists", "List-Item" and "Select input" to the Elements tab
- HTML attributes panel was moved in the right inspector and now supports custom attributes
- Improved image optimization for uploaded images
What's coming next
- Conditional Rendering
- New smart element: Navbar