


Release notes
March 2026December 2024July 2024February 2024
September 2023
May 2023
January 2023
November 2022October 2022September 2021August 2021May 2021March 2021August 2020July 2020June 2020May 2020April 2020
September 2023
May 2023
January 2023
November 2022October 2022September 2021August 2021May 2021March 2021August 2020July 2020June 2020May 2020April 2020
November 09, 2022
v3.0.75New features
Conditional rendering
The new conditional rendering feature allows you to create states inside components so that you can render elements based on conditions that you establish. Define states, link them to nodes and control them via events. You can create components that include accordions, tab selectors, carousels, and other similar interactive elements.
In advanced mode (specifically, with Developer mode enabled), you can also define functions for your elements and use them in widgets.
Keep in mind that this feature is still in development and will disable HTML and CSS export. You can enable it in your Project Settings under the Experimental Features sections.
Navbar interactive element
The Navbar is a pre-made smart component that you can use in the Interactive section of the Elements panel. It is designed for easy implementation and has built-in responsive and animated features that you can quickly customize to your liking.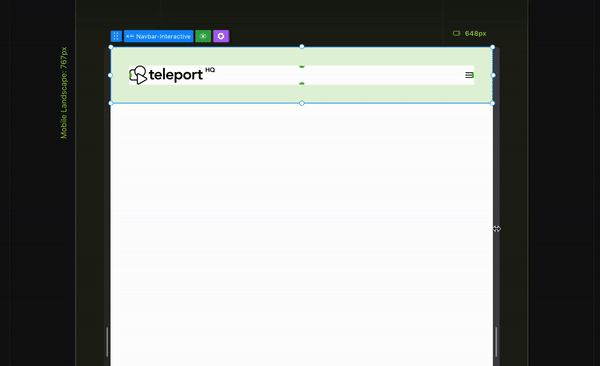
The Navbar is a pre-made smart component that you can use in the Interactive section of the Elements panel. It is designed for easy implementation and has built-in responsive and animated features that you can quickly customize to your liking.
Media query guidelines
The background of the canvas now has differently colored lines to show which media query is active. This improves visibility and helps you understand which query is currently in use. In previous releases, we made sure that the canvas width stays the same throughout the project, which, together with this new feature, should reduce confusion.
The background of the canvas now has differently colored lines to show which media query is active. This improves visibility and helps you understand which query is currently in use. In previous releases, we made sure that the canvas width stays the same throughout the project, which, together with this new feature, should reduce confusion.
Code embed
The Elements tab in the Left panel now includes a Code Embed element in the Media section. When you add this element to the canvas, it opens an edit modal where you can enter any code (HTML, JS, CSS, or anything else that the browser can run).
This feature is still experimental and will be improved in future updates.
Lottie animations support
The Elements section in the Left panel now includes a special Lottie element that you can use to add Lottie files to your projects. This ensures that your code runs correctly when you export it to different frameworks.
To use the new Lottie element, you will need the animation JSON file URL (you can find examples on lottiefiles.com), which you can then add as a source in the Attributes panel.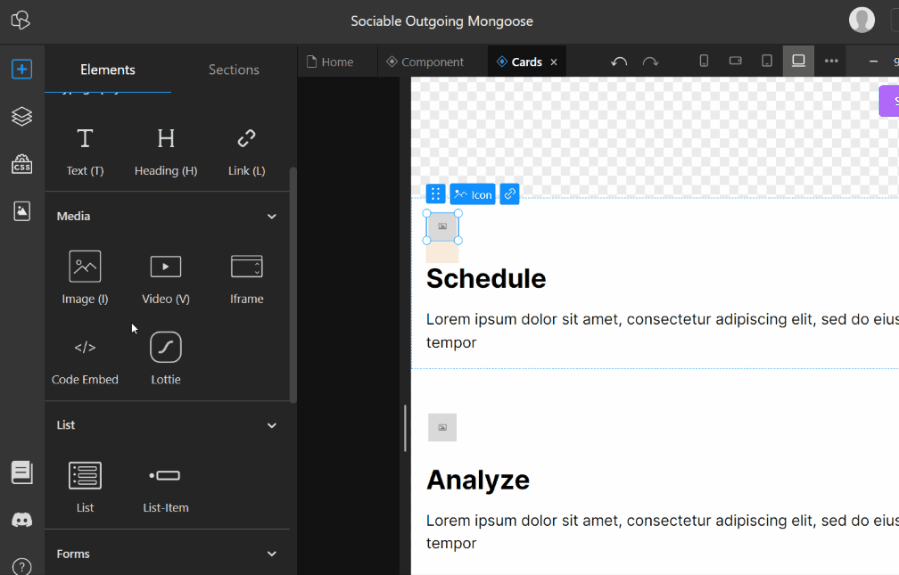
Copy paste HTML code
You can now paste HTML code directly into your project by copying it to your clipboard and using the "Paste" command (CTRL/CMD + V or right-click). A code modal similar to the one used by the Code Embed element will appear, and the pasted code will be displayed. If the code passes validation, you can save it as TeleportHQ elements that you can interact with in your project.
This feature is different from the Code Embed element because it imports the code into individual elements and classes, rather than saving it as-is.
This means that it has some limitations, such as not being able to import JavaScript or having constraints on text, but the resulting elements are more usable within our platform.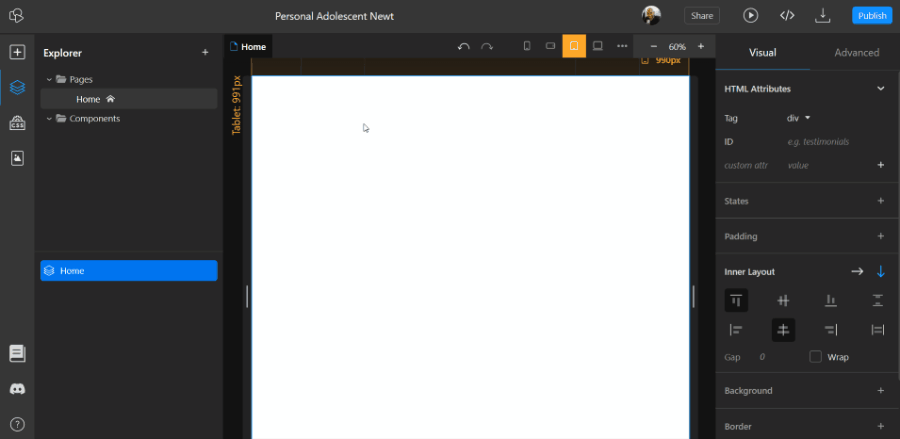
Copy components across projects
You can now copy a component from one project and paste it into another project. To do this, right-click on the component in the left sidebar under Layers & Files, select "Copy component to clipboard," and then paste it (CTRL/CMD + V) into the other project.
The component will be imported into the new project. This allows you to easily reuse components across multiple projects.
Updates
Toggle CSS classes and styles
You can now enable or disable individual CSS classes and style properties in the Advanced panel without deleting them.
This allows you to see how an element would look without a specific class or property without affecting previews or deploys.
This function is similar to the developer tools found in web browsers.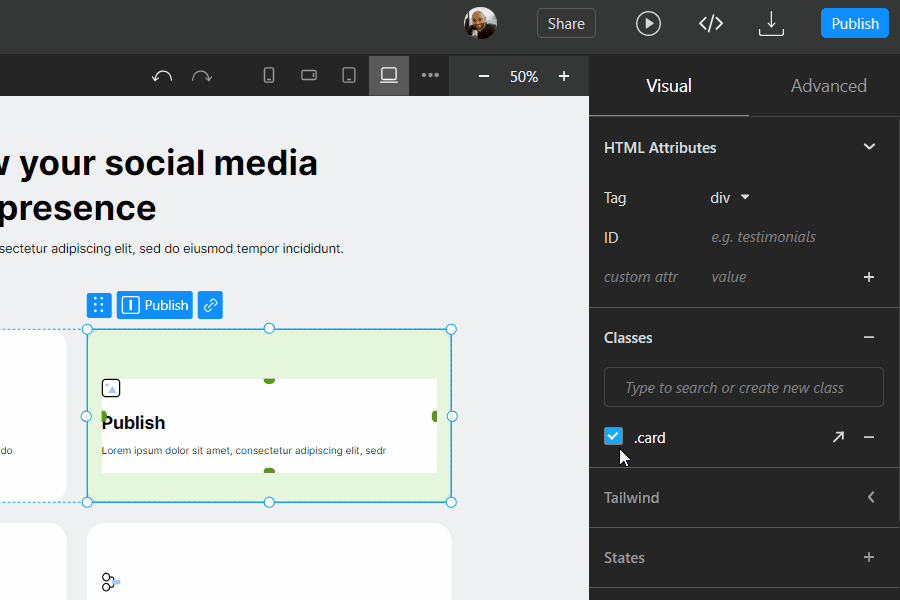
Gap property in right panel
The Gap property is now fully supported in the Visual editor, and you can find a dedicated input for it in the Inner Layout section of the Right panel. Previously, you could add the Gap property manually in the Advanced tab, but there was no support or guidance for using it.
Now, the input in the Inner Layout section makes it easy to use the Gap property in your projects.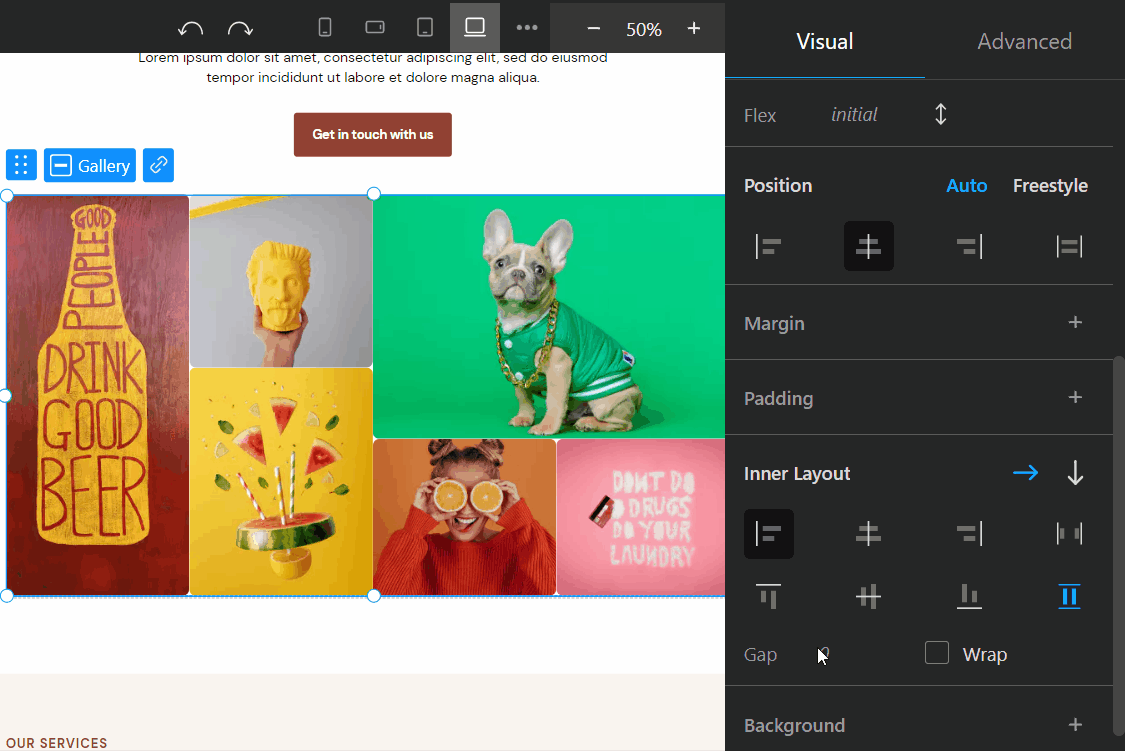
“Expand/collapse all” button in treeview
When you hover over container-type elements in the tree view of the Layers & Files section you will see a new button that allows you to collapse or expand the container and all the elements inside it.
This can be useful for organizing and navigating your project.
When you hover over container-type elements in the tree view of the Layers & Files section you will see a new button that allows you to collapse or expand the container and all the elements inside it.
This can be useful for organizing and navigating your project.
New templates
There are six new unique templates that you can use to start your projects. You can access them when you create a new project.
These templates are designed for different industries and have their own individual styles and color palettes.
This can save you time and help you create professional-looking projects quickly.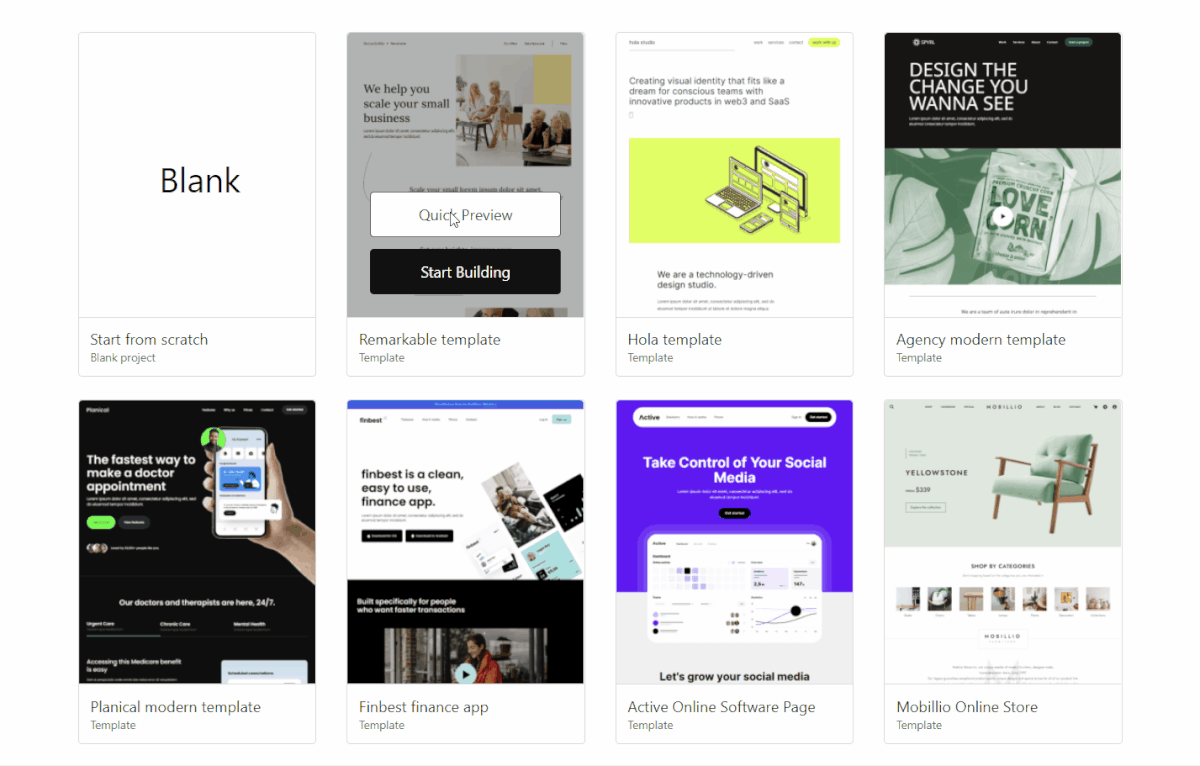
Improvements & Fixes
- UI updates and improvements to the Interactive Elements and Code Embed element preview
- Code Embed & HTML Copy/Paste validation and formatting fixes
- Bug fixes related to page routes, code generation and dev mode