Figma is a very popular platform among designers.
And for a good reason.
It allows them to create designs and prototypes for websites and apps on desktop, tablet, and even mobile devices.
If you’re a designer or working with one and you’re planning to create a high-fidelity website, we have the perfect solution for you.
You can now transform a website prototype into a live, fully functional website in a very straightforward way. TeleportHQ allows you to export your Figma designs to HTML and CSS code or directly into React, Vue, Next, Nuxt or Angular.
Let’s see how to convert Figma to HTML in just five easy steps.
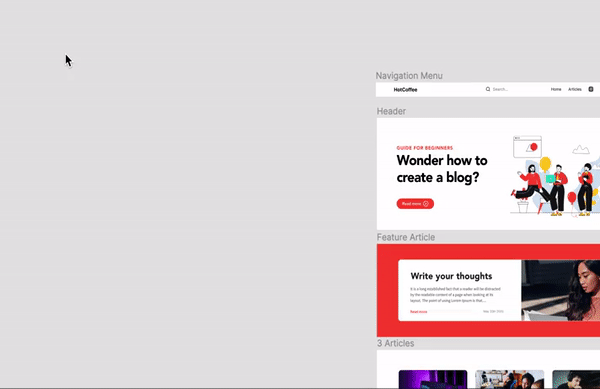
1. Create Your Figma Designs
The very first step for this Figma convert to HTML process would be to create the designs you wish to include in your future website.
If you wonder how Figma can generate code, the answer is very simple, and we’ll look into the process using TeleportHQ.
2. Install Teleport Design to Code for Figma
To benefit from our Figma to HTML converter, you first have to install the plugin. So, once you’re on Figma, follow these steps: Right-click → Plugins → TeleportHQ Design to Code.
3. Export Your Figma Designs
Now let’s see how to turn Figma into code.
After you perform the first step, you’ll be able to select one or multiple frames that you wish to export from your Figma project.
Click on Export to TeleportHQ and convert your Figma designs to HTML. They will be automatically created in TeleportHQ’s platform.
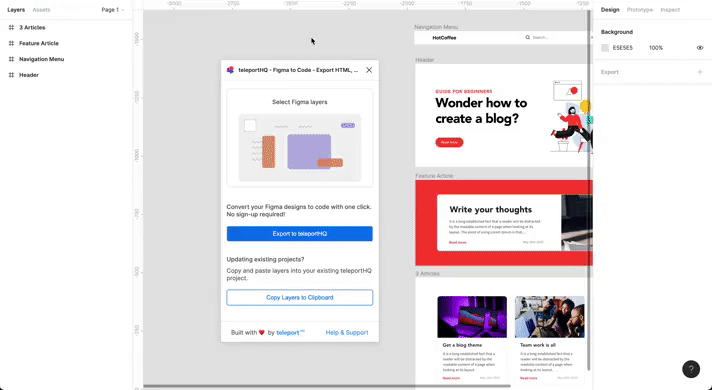
Alternatively, you can add designs to an existing project by clicking Copy layers to clipboard, then paste the Figma code into your TeleportHQ project.
Our Figma to HTML or CSS converter allows you to perform this action as many times as you want, even after your website is live.
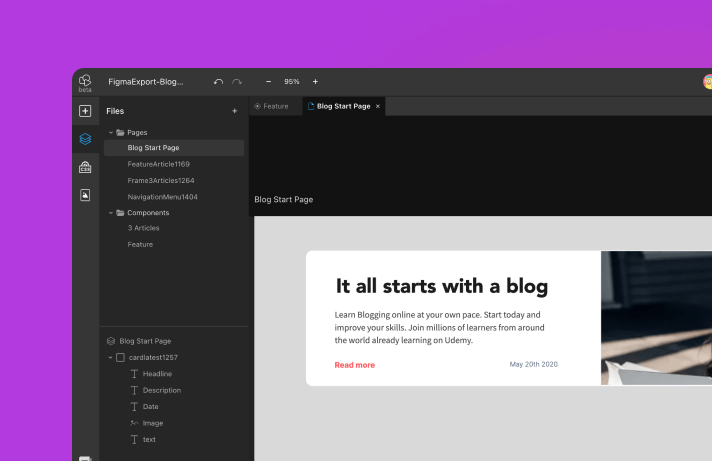
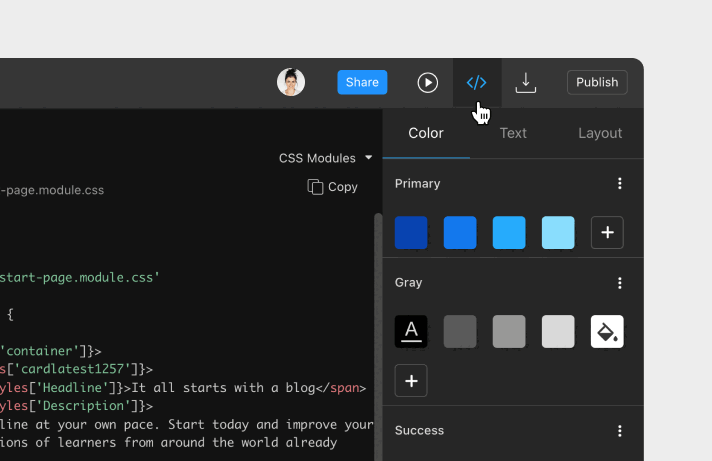
5. Edit Your Designs
With TeleportHQ’s features, you have complete control over your designs. So, after you convert Figma to HTML, you can start editing with ease and create custom components, or simply add pre-made elements from our library, such as hero sections, banners, pricing, stats, social bar, or testimonials.
Once you convert from Figma to HTML or CSS and start working on our platform, you can invite your team or other stakeholders to contribute to the project and assign them different permission levels like Viewer or Editor.
The awesome part is that TeleportHQ is a collaborative platform that allows up to ten people to work on the same project, so you’ll benefit from a very smooth process.
5. Preview and Publish
With our Figma to HTML converter plugin, it’s easy to finish your projects in no time. After you edit the designs to your liking, preview your future website to see if everything is exactly as you wish.
Once you’re satisfied with the result, you can publish your website via two options.
You can choose to publish it on a TeleportHQ subdomain, or you can deploy your website on your custom domain.
And just like that, you have your website after converting Figma prototype to HTML.
Wrapping Up
Now that you know how to export code from Figma, you’ll be able to create high-fidelity websites through a simple process.
Convert Figma to HTML online using our platform, and start designing your future projects.